

Good morning! Well, everyone’s garden should be popping up rather nicely considering the warm temperatures interspersed with long, gentle rains. We may not like gray, rainy days, but our gardens certainly do. In case you haven’t noticed, the songbirds and the hummers are back and the bumblebees are bumbling along helping our gardens grow. I have seen two butterflies up here on the hill, but I think they were the early birds.
At this time of year, along with the plants coming up, our gardens often reveal something else – holes! Where once a plant flourished, alas, a hole is all that remains; and as keepers of growing things, it is our job to fill those holes.
Yippee, a trip to look at wonderful plants is required. The shopping/choosing is the easy part; it’s the planting that is hard work. It is also the planting that will determine how well that beautiful new plant will do not only this season but in years ahead.
There are steps you should take to help ensure your new plants get a good start. First, when you pick a plant, don’t instantly go for the one with blooms on it. Pick up a prospective plant and gently shake it back and forth. If it moves in the pot as one whole object, that plant is really rootbound. It has been my experience that a somewhat smaller plant that is secure within the pot is usually healthier. Look carefully at the foliage and you should see consistently healthy, green leaves. If a number of leaves are starting to yellow or wilt, this is not a good sign, even if the plant is in bloom.
Once you get your plant home, put it in a place where it gets dappled sunlight and water it faithfully until you can plant it. If you are doing several plants or a whole new section of garden, put in the time and effort to improve the soil before you plant. Add compost and maybe some good loam, depending on how long the area has been planted and in use. If the open space is large enough, till the soil throughout. If you are adding only one or two plants, you can amend the soil in the planting hole with compost as you plant.
When you get the plants home, place them into the spaces they will occupy and take a good hard look. This is especially important if you are planting a large space with many new plants. What you pictured in your head may look entirely different when you see the real plants sitting on the ground.
Always remember to adjust the plants for height so that wonderful little primrose isn’t hidden behind the new coral bells. Take note of the information on the plant tag that gives you the maximum height and width of the plant when full grown. This will save you moving plants later on.
If your schedule allows some flexibility, try to plant on an overcast and cool day rather than a sunny, warm one. The night before you plant, lightly water the area to be planted and water the plants very well. When it’s time to dig, think wide not deep. A newly planted perennial puts roots out to the sides much more quickly than down, and many perennials don’t ever put a lot of roots downward except those with taproots like lupines. If your soil has not been tilled or tends to be compacted, by all means dig a good 6 inches deeper and then backfill it, water it and let it settle. If it is too deep when you start to plant, just add some more soil back in the hole until the plant sits even with the top of the hole. Make the width of the hole at least twice as wide as the plant.
Don’t give it a tug
When removing the plant from the pot, be gentle. If roots extend through the holes in the bottom of the pot, cut them off. Then tap the sides of the pot all around, place your hand with fingers on either side of the plant and tip the pot. The plant should slide out quite easily. If it does not, sit it back upright and hit the sides of the pot with more force and try again. If all else fails, get a sharp knife and cut up the sides of the pot. Do not pull on the plant in an attempt to get it out of the pot.
When you get the plant out of the pot, check the roots. If they are circling around the bottom, gently tease them apart and out. This will help them root more swiftly. If the plant is entirely encircled with roots and there is little dirt visible, your plant is rootbound and you need to make a correction before planting. Take a sharp knife and slice the rootball about one-third of the way up toward the crown and separate the two parts that have been created. Try to loosen the roots on the sides higher up on the rootball. If you cannot loosen them, a small slice on each side can be made.
When the plant goes into the hole, make sure the two parts created at the bottom of the rootball stay separated. Place the plant in the hole and arrange the roots out and away from the plant. Make sure that the plant level in the pot is now the plant level in the hole. You can accomplish this easily with a straight stick or a yardstick. Lay the stick across the hole and it should also touch the ground level on the plant. Now backfill the hole about one-third of the way and water around the plant, not over it. Let the water drain and check the depth of the plant. If the depth is correct, finish backfilling the hole and tamp the ground lightly with your hand. Do not step on it to do this and do not push heavily near the plant stem. Water thoroughly and fertilize lightly with an organic product such as Neptune’s Harvest or another fish/shellfish emulsion.
You need to water these new transplants faithfully for a minimum of two weeks. They will need more attention than the established plants around them. Go easy on full-strength fertilizers on new plants in the first season.
So, it’s time to go shopping and look at all the wondrous offerings out there at your local nurseries and gardens, because one of the best parts of gardening is getting to make your choice.
Until next time, watch for the hummers and maybe put out their feeder, because there are not a lot of flowers yet. Look for the indigo buntings and the rosy grosbeaks and, if you believe in the wisdom of lore, don’t plant those annuals until after the last full moon of the month. And don’t forget to honor the fallen by flying your flag for Memorial Day and saying thank-you to every veteran you may encounter.
Happy gardening!
Jody Goodwin has been gardening for more than 25 years. She lives in Turner with her husband, Ike, her two dogs and two cats. She can be reached by writing to her in care of the Sun Journal, 104 Park St., Lewiston, Maine, 04243-4400 or by e-mail at jodyike@megalink.net.
Timely tips
Before you know it, the critters will start appearing in the garden. If you want to know whether it is a good or bad bug and what to do if it’s bad, check out this Website, www.gardeners.com. There is a pest and disease finder that works quite easily along with earth-friendly solutions to problems. Just hit the learning tab once you get on the site.
For those of you with ponds in your landscapes, I learned at the Maine Garden Day put on by the University of Maine Cooperative Extension in March that if you add barley straw, it will keep the water clear. The barley straw won’t harm people, pets or the flowering plants that grow in ponds. It just needs to be put in some kind of floating container that the water will pass through.
-

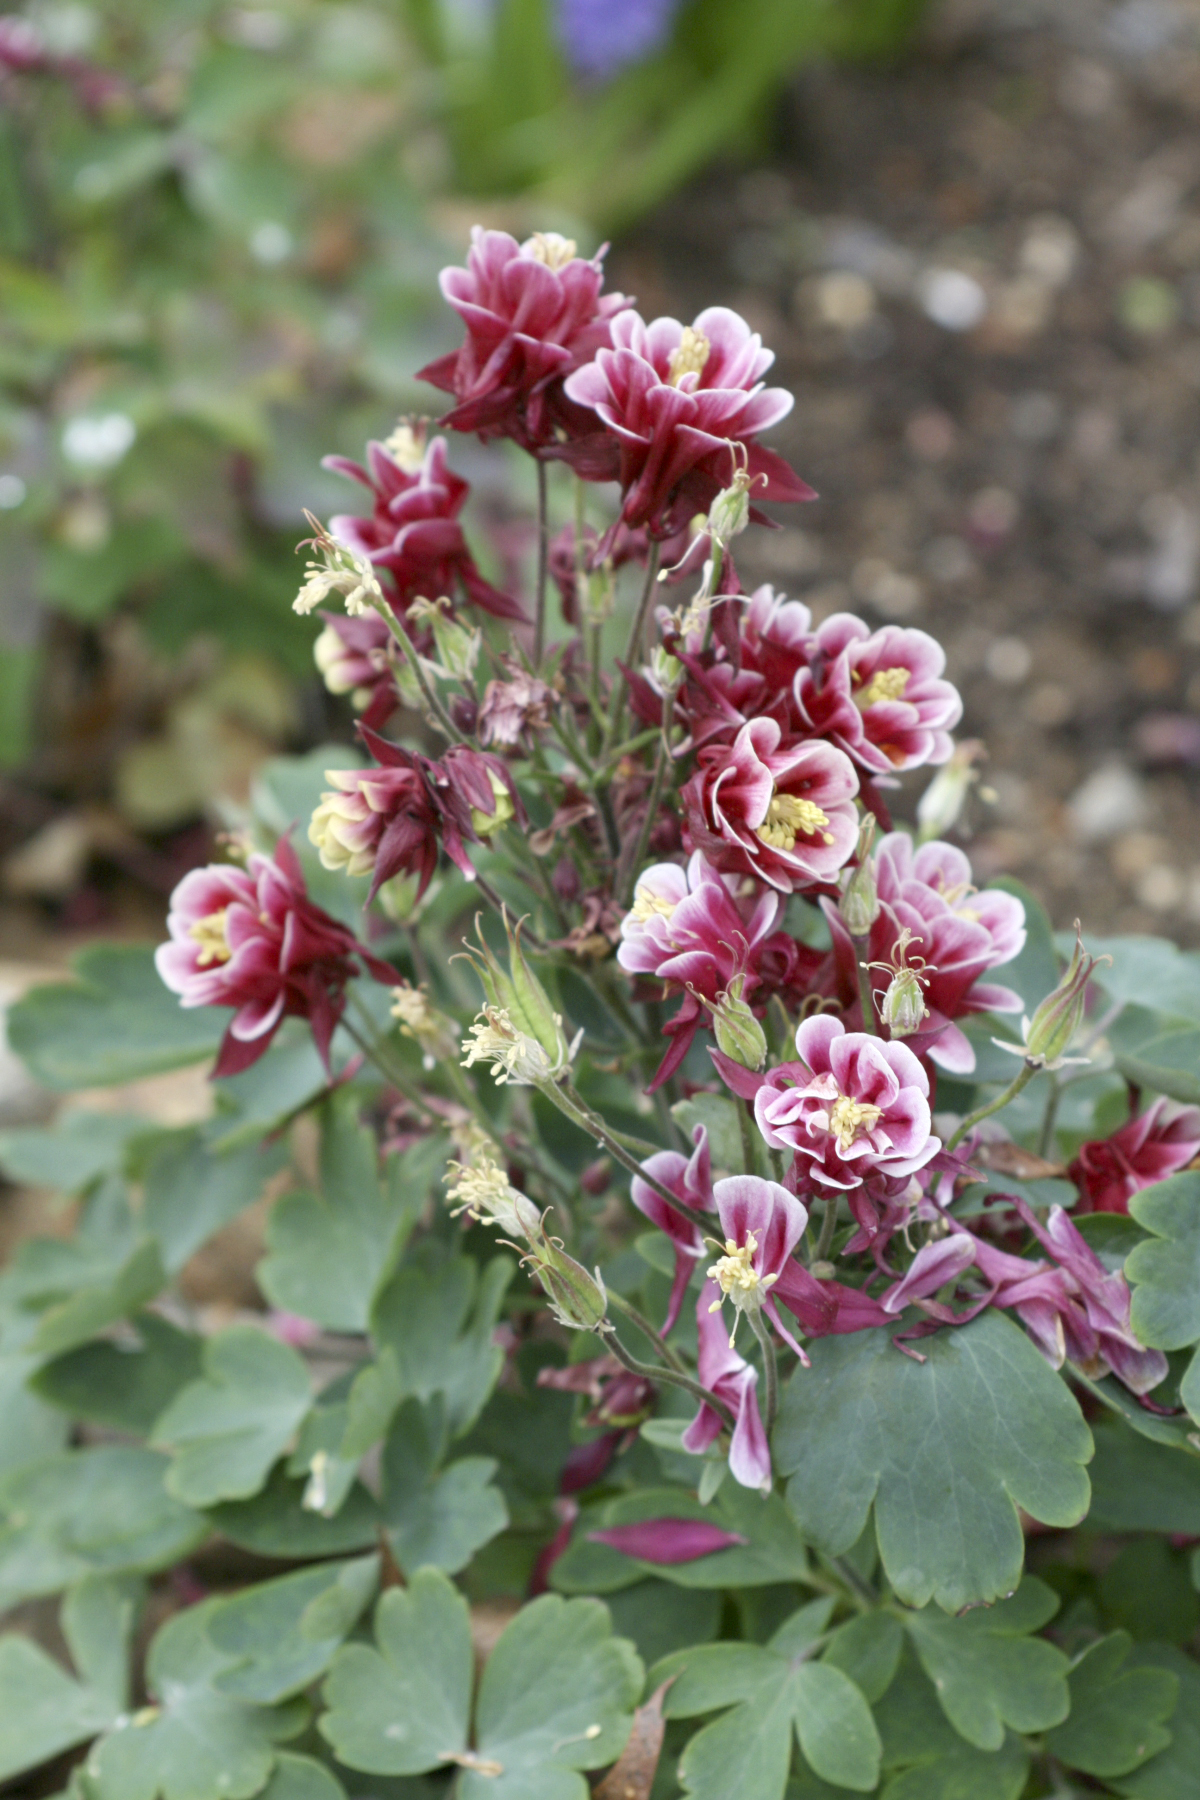
- This double “Red Winky” columbine is one of the first flowers in spring.
-
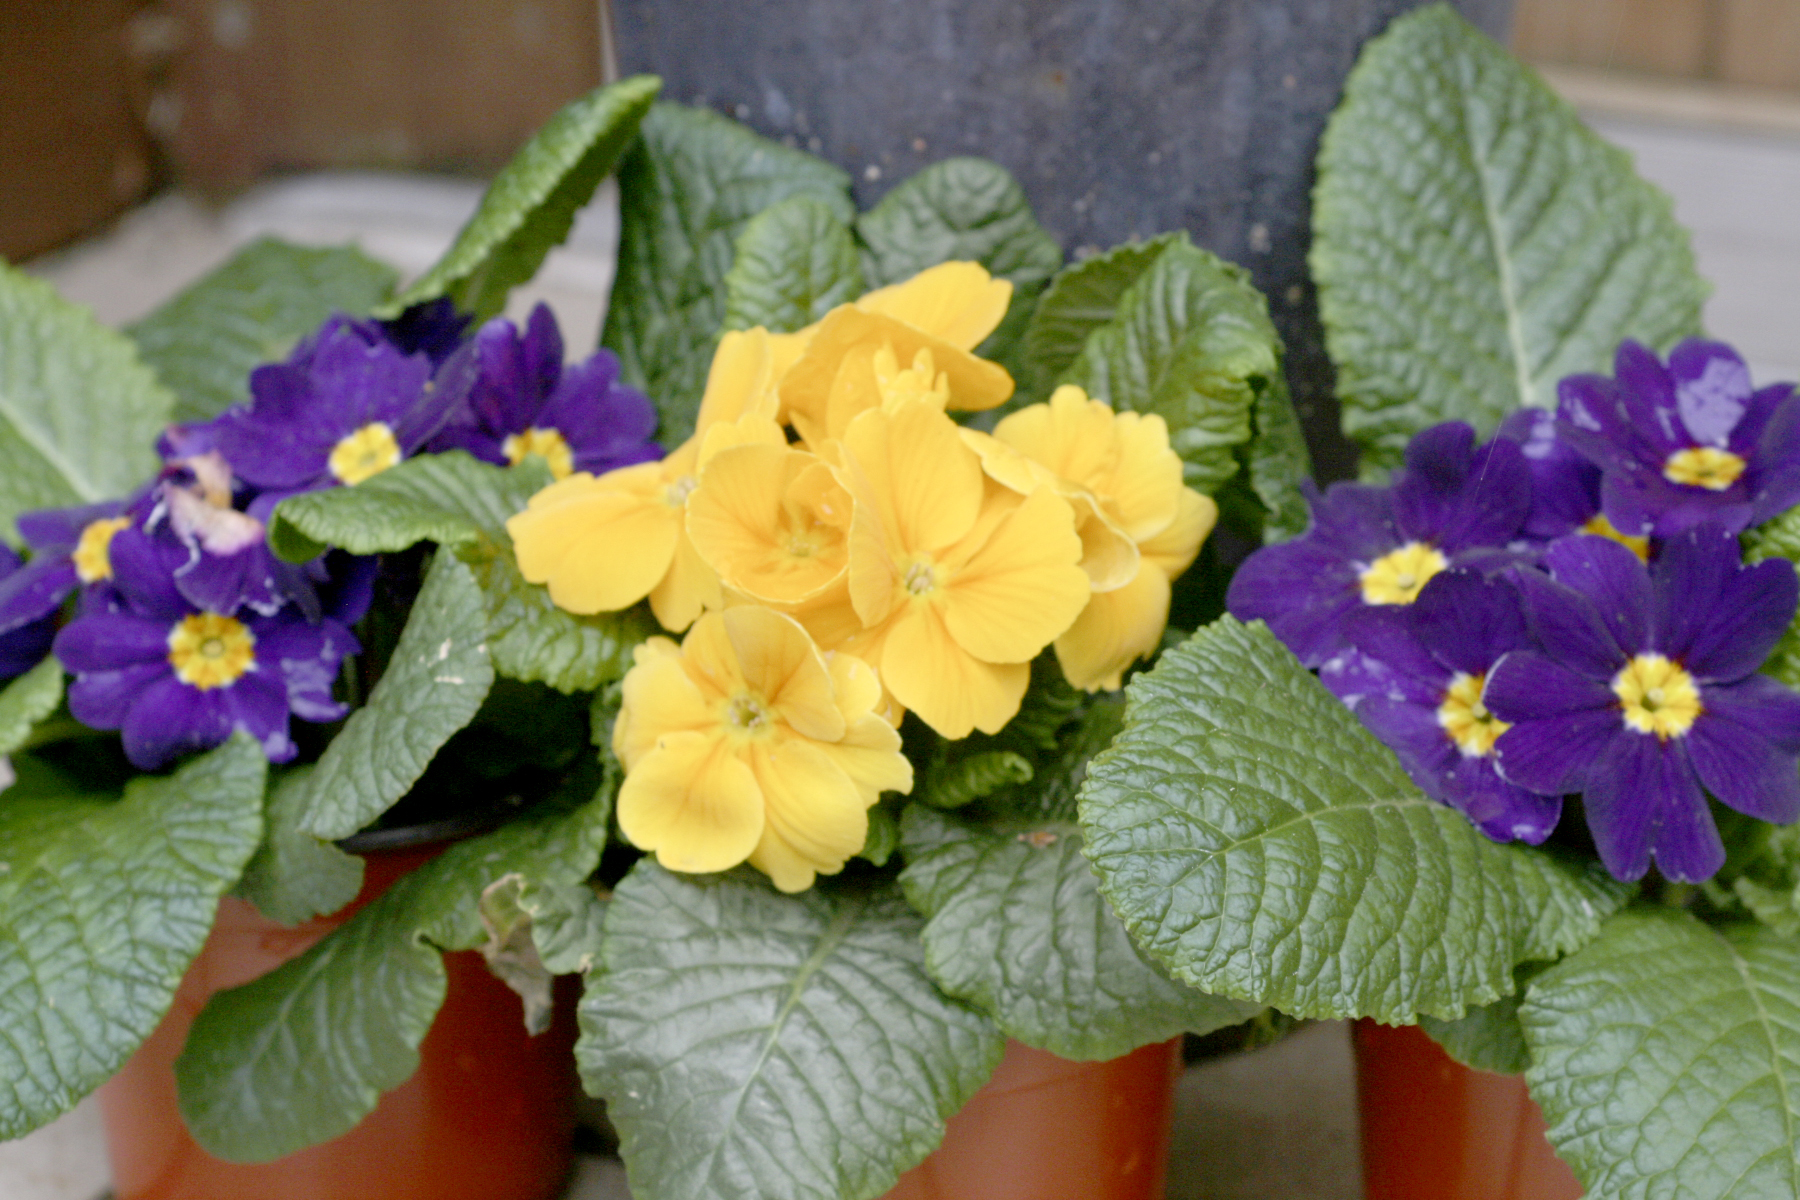
- Primroses are a great choice for a shade garden.
-
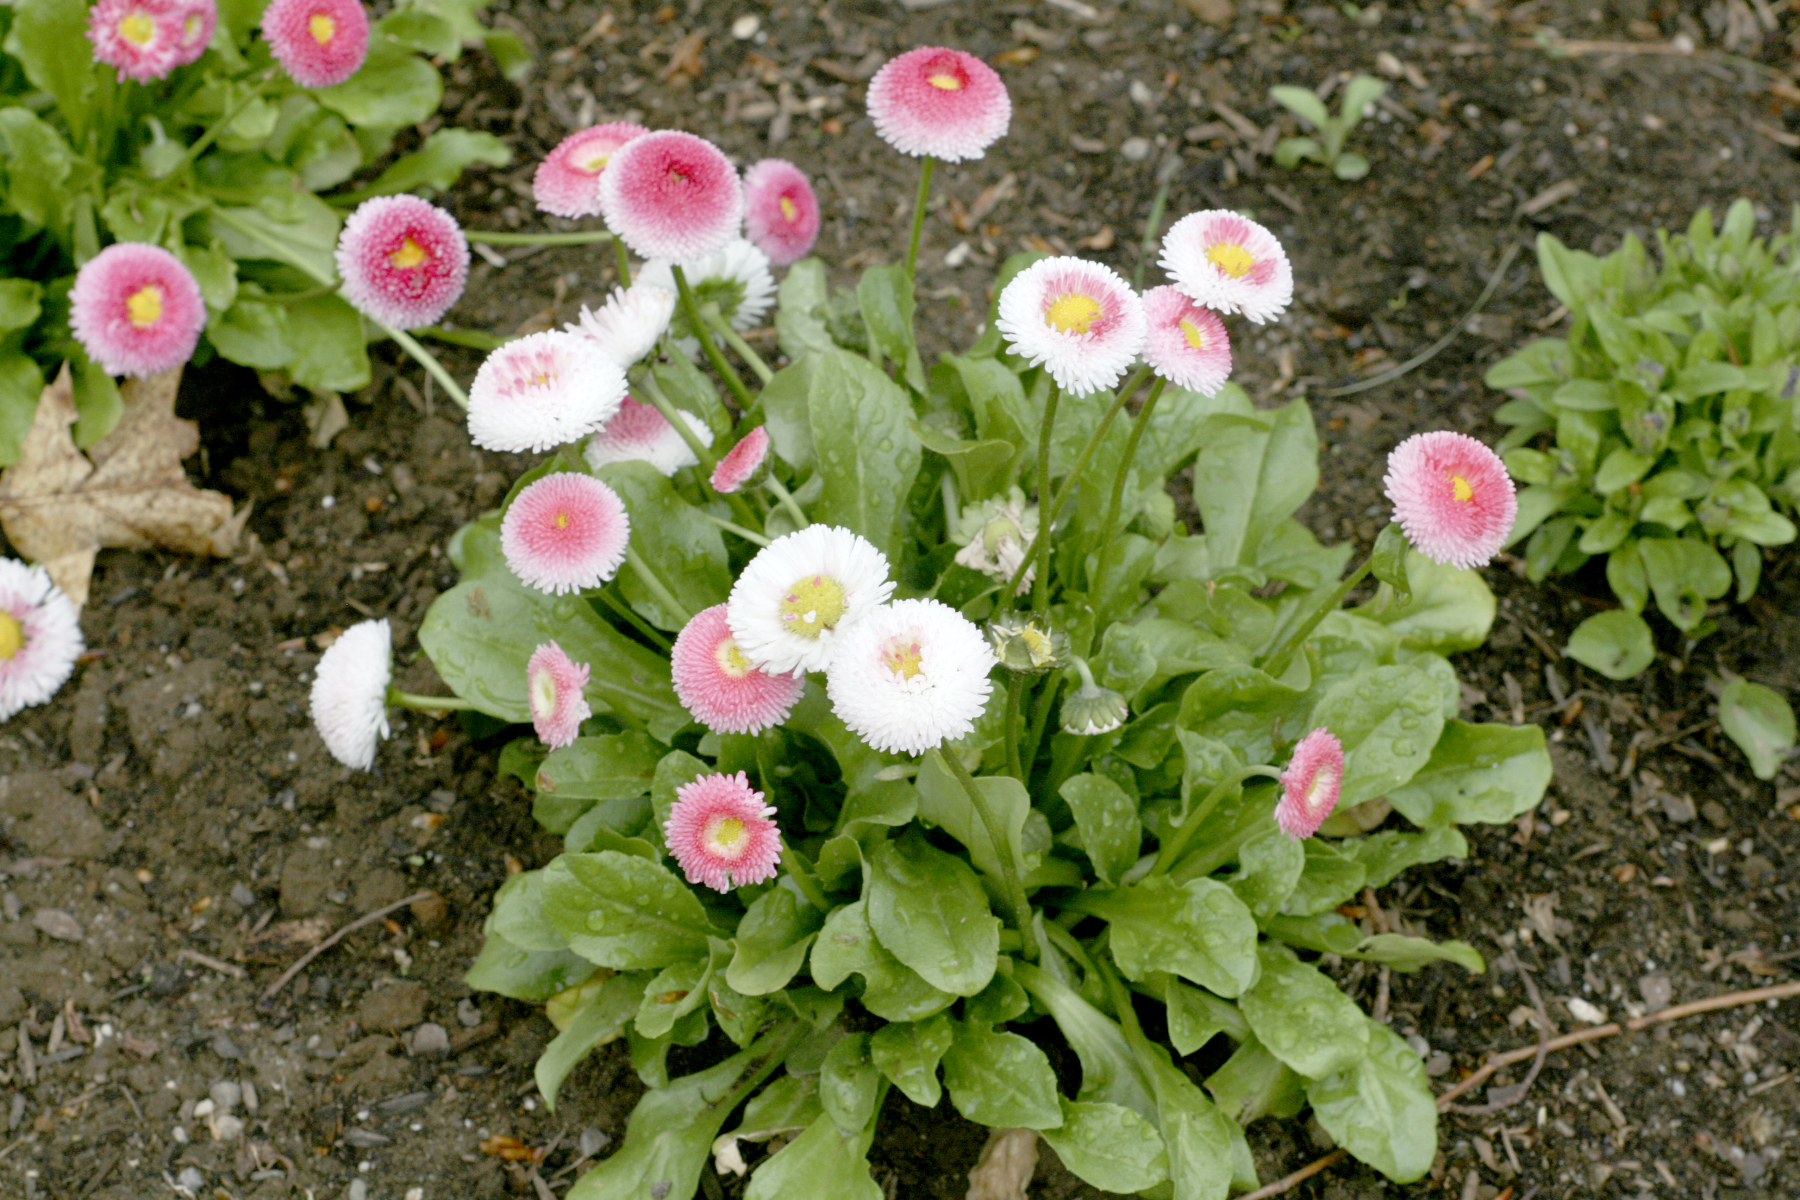
- These flowers are called by various names, including Bellis and English daisies.
-
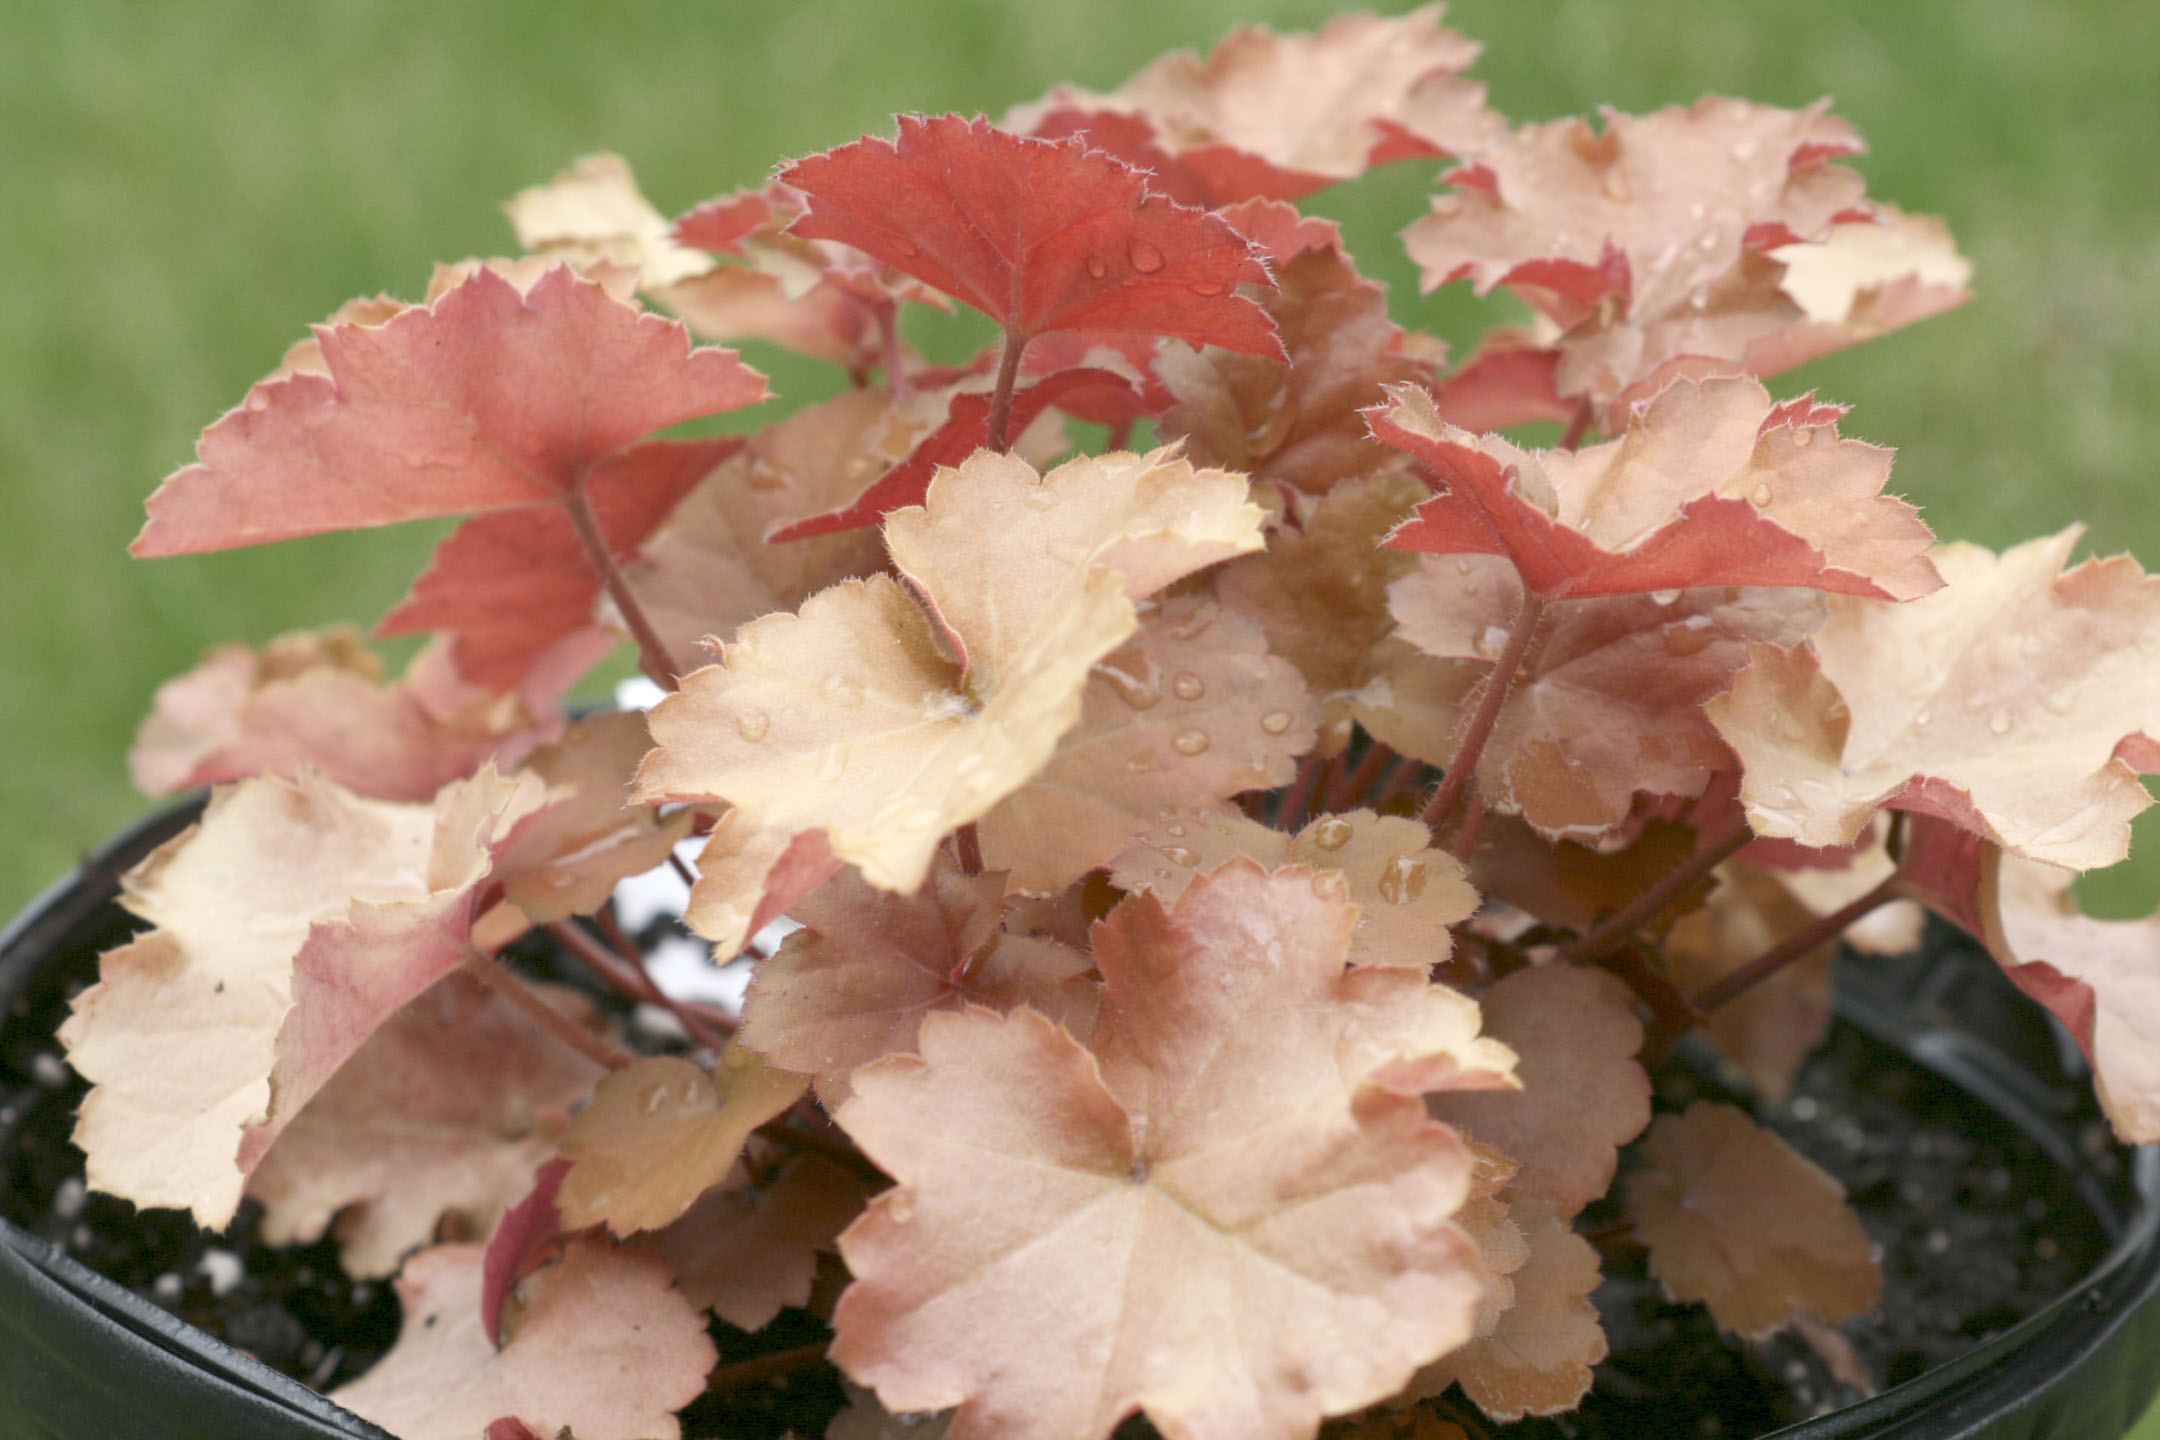
- This is a coral bells called “Christa.”
-
- This is a foam flower, which is great plant for shade.

Send questions/comments to the editors.

Success. Please wait for the page to reload. If the page does not reload within 5 seconds, please refresh the page.
Enter your email and password to access comments.
Hi, to comment on stories you must . This profile is in addition to your subscription and website login.
Already have a commenting profile? .
Invalid username/password.
Please check your email to confirm and complete your registration.
Only subscribers are eligible to post comments. Please subscribe or login first for digital access. Here’s why.
Use the form below to reset your password. When you've submitted your account email, we will send an email with a reset code.