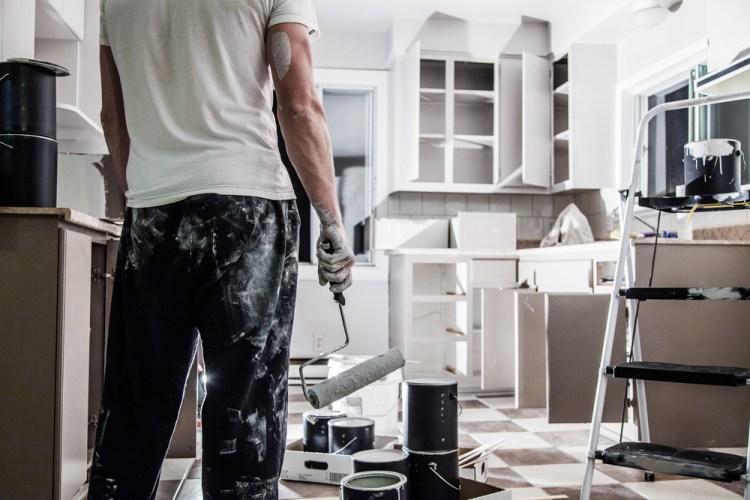
Planning Your Project
New paint in the kitchen can brighten and elevate the space with a relatively low investment of time and money. When you’re in the planning stages, it’s essential to consider several pieces before you jump right into the paint swatches.
Timing
You can complete the average DIY kitchen painting project in a week with a solid plan. Prepare for one to two days of cleaning, another day to clear out the space or cover surfaces with drop cloths, then one to two days of the actual painting. You’ll want to plan enough time to complete the project from start to finish so you don’t have to repeat steps.
Labor and Expertise
Painting your kitchen is a job that most DIY homeowners can complete on their own. If you have exceptionally high ceilings, you’ll need to rent specialized tools or hire a professional to assist with hard-to-reach locations.
Cost
Plan to spend between $25-$45 per gallon of paint and about $100 on tools if you don’t have anything on hand from previous projects. To keep costs down, reach out to neighbors to borrow paint rollers, brushes, and drop cloths.
Design
Kitchens have lots of nooks and awkward spaces around appliances, so designing your painting plan can be challenging. To brighten the room, plan to paint the molding and doors as well as the small areas that are often in shadow. Painting window ledges and trim can also instantly brighten the room, so plan for this update in your budget.
Measuring the Space
Once you have a design plan, measure the space several times to get an accurate quantity of paint. Typically, a gallon of paint covers about 350-400 square feet of wall space (and primer covers about 200-300). You’ll need two coats of lighter colors and three coats of dark shades. Plan to purchase about 10-15% more paint than you’ve calculated so that you have extra for mistakes and touch-ups as time passes.
Choosing a Paint
Types of Kitchen Paint
Because kitchen walls get dirty, wet, and greasy, choosing a paint type that can hold up well in these conditions is essential. Latex paint is today’s most popular choice for its low-VOC rating and quick drying time. The downside is that many latex paints chip and scratch more easily. Look for “scrubbable” or “washable” options in major brands to add durability to your walls.
Colors
This is the fun part! Modern kitchen design is so versatile that you can let your creativity reign when choosing paint colors. Consider the following elements when making your decision:
Bright doesn’t have to mean light: A fresh white room can undoubtedly brighten the space, but you can get the same effect with saturated color. Your kitchen will feel bright if you choose a color that offsets the furniture and fixtures and draws your eye around the room to take in all the space.
Cabinets and countertops: Even if you’re just painting the walls at this stage, consider whether you’ll be replacing or updating the cabinets and countertops in the near future. Choose a paint color that’s neutral enough if you haven’t solidified future design plans.
Flow of the home: If your kitchen is open to other rooms, make sure your paint choices complement the adjoining walls. If you’d rather create a bold accent in the kitchen, choose a complementary color that’s a shade darker than nearby rooms to make a statement.
Lighting: Make sure to test paint samples at all times of day. The difference between morning sunlight and nighttime overhead bulbs can be staggering.
Prepping the Surfaces
To get the most from your paint, thoroughly clean and prep the surfaces first. You’ll want to remove grease from any areas that feel or look sticky. Make sure to dust the tops of all cabinets and appliances to avoid dirty paint drips. Cover countertops, floors, and appliances with cloths to protect the surface. Use painter’s tape for edges around cabinets and fixtures.
Painting Like a Pro
If your existing walls are in good condition and aren’t too dark, you can skip primer and head straight for the paint. For dark or damaged walls, prime first. Painting in a “w” pattern with a roller gives you the best coverage. Use a brush to paint the 2-3 inches closest to the floor and ceiling. The most common painting mistake comes from using too much, so always wipe excess from your brushes. You’ll want to let each coat thoroughly dry before starting the next; don’t remove any tape until the next day.
Comments are not available on this story.
Send questions/comments to the editors.


